 how-to
How to Clean Your Car for Trade-In Value
Last Updated: October 31, 2026
Quick Summary
To prepare a car for a clean car trade-in, empty it completely, vacuum the cabin and trunk, and clean each surface with a product matched to its material. Then wash the exterior and wheels and treat any odors or stains at the source. Cleaning improves presentation but does not replace an honest look at the vehicle's condition.
- Empty the car and check seats, pockets and the trunk before cleaning.
- Test cleaners on a hidden spot before using them on cloth, leather or plastic.
- Avoid cover-up products, since appraisers can detect them and may suspect bigger problems.
- Wash the car and wheels, and clean door jambs for a fresh exterior appearance.
- Cleaning will not fix major damage or mechanical problems.
Table of Contents
- Why Cleaning Your Car Before a Trade-In Pays Off
- Car Interior Cleaning Checklist Before Trade-In
- How to Prepare a Car for Trade-In: Exterior Steps
- How to Detail Your Car Before Trade-In on a Budget
- Professional Car Detailing Cost vs. DIY Effort
- What Not to Clean, Repair, or Conceal
- Book Your Trade-In Appraisal at Carvibe Houston
- Frequently Asked Questions
Why Cleaning Your Car Before a Trade-In Pays Off
A clean car trade-in makes a strong first impression at the dealership. Achieving a truly clean car interior requires a systematic approach to detailing that removes deep-seated grime and restores the cabin to its most appealing state.
Cleaning will not fix major damage or mechanical problems. It does, however, signal that the car has been cared for.
Cleaning is often a worthwhile use of time when the car is in decent shape and the owner has time to prepare it.
Watch out: Do not assume a clean car guarantees a higher offer. Offers depend on many factors, so cleaning is one part of a larger picture.
Car Interior Cleaning Checklist Before Trade-In
Start inside the car. The cabin is where personal clutter and odors are most noticeable. Work in a fixed order so you do not clean the same area twice: remove, vacuum, treat, then wipe.
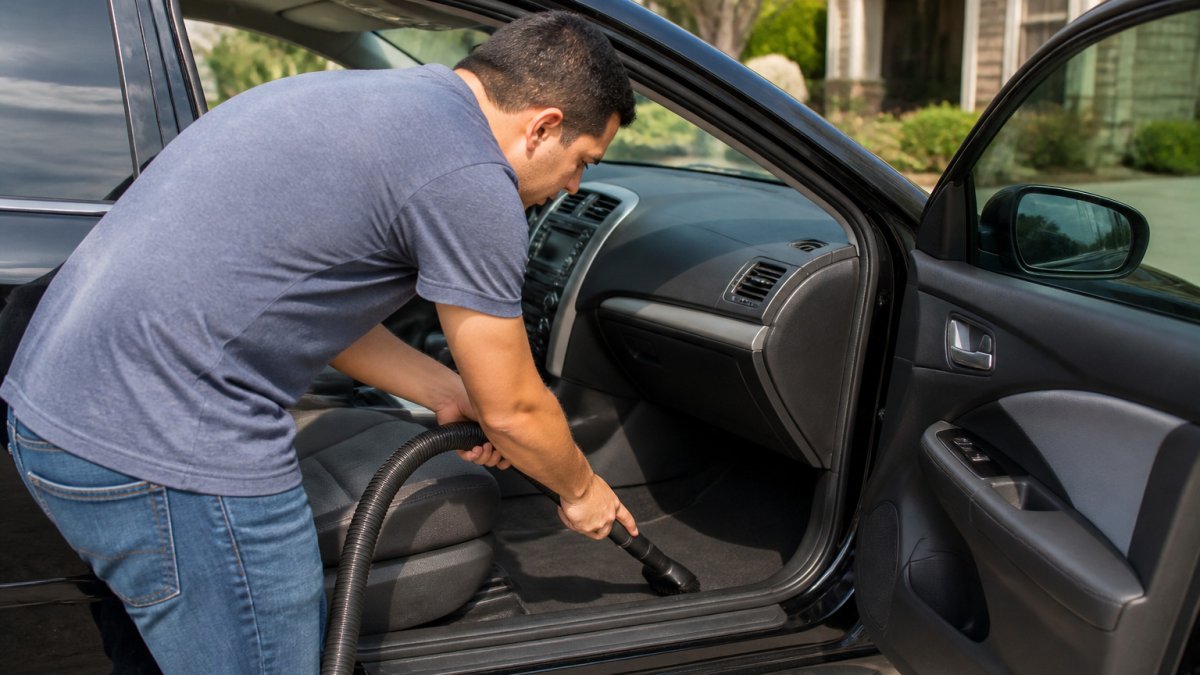
Step 1: Remove Personal Belongings and Loose Debris
Empty the car completely before you clean. Check the glove compartment, center console, door pockets, seat backs, and trunk. Remove toll tags, garage door openers, and phone mounts unless they came with the car.
Then pick up loose debris such as receipts, wrappers, coins, and pens. Bag up trash so nothing is left rattling around.
- Check under every seat and in the seat pockets
- Remove floor mats and shake them out
- Take out the spare tire cover items and any loose tools
Step 2: Vacuum the Cabin and Trunk
Vacuum the floors, seats, carpets, and trunk. Use a crevice tool along the seams, under the seats, and around the pedals. Pull out the floor mats and vacuum them separately.
Do not forget the trunk. Many owners overlook it, but appraisers often open it to check for spare tires and cargo damage. Vacuum the trunk floor and wipe the spare tire cover.
Step 3: Clean Interior Surfaces Safely by Material
Different materials need different products. Using the wrong one can cause discoloration or cracking. Test any product on a hidden spot first, a small area under a seat or on the back of a panel will show whether the material reacts.
- Cloth seats: Use a fabric cleaner and a soft brush. Blot stains instead of rubbing them. Work from the outside of the stain inward so you do not spread it.
- Leather: Use a pH-neutral leather cleaner, then a conditioner. Avoid harsh household cleaners, which can strip the finish.
- Plastic and vinyl: Use an interior all-purpose cleaner and a microfiber cloth. Avoid greasy dressings that attract dust.
- Glass: Use an automotive glass cleaner and wipe both sides for a streak-free finish.
- Screens and displays: Use a microfiber cloth lightly dampened with water or a screen-safe cleaner. Avoid ammonia-based glass cleaners, which can damage anti-glare coatings.
Step 4: Handle Odors, Stains, and Pet Hair
These are the problems that most often drag down an appraisal, and they need targeted treatment rather than a general wipe-down.
- Odors: Find the source first. A wet carpet, a spilled drink, or a forgotten food item under a seat will keep smelling no matter how much air freshener you use. Air out the cabin, clean the source, then use an odor absorber. Avoid heavy cover-up fragrances, which can make a car seem like it is hiding something.
- Stains: Treat stains as soon as you find them. Blot, do not scrub, and use a cleaner matched to the material. For set-in stains on cloth, a fabric cleaner applied in small sections works better than soaking the whole seat.
- Pet hair: Rubber gloves or a damp rubber squeegee lift pet hair from carpet and cloth better than a vacuum alone. Vacuum first, then use the rubber tool to pull up what the vacuum missed.
Step 5: Wipe Down and Final Check
Wipe the dashboard, center console, door panels, and steering wheel with a microfiber cloth. Clean the inside of the windows last so you do not leave fingerprints on freshly cleaned glass. Do a final walk-around: open the glove compartment and console, check under the seats, and look in the trunk. Anything you would not want an appraiser to see should come out now.
The table below summarises the interior cleaning steps in order, with the material-specific product guidance from the article.
| Step | What to do | Note |
|---|---|---|
| Remove belongings | Empty the car and bag up trash | Check seats, pockets and trunk |
| Vacuum | Vacuum cabin and trunk | Use a crevice tool along seams |
| Clean by material | Match cleaner to cloth, leather, plastic or glass | Test on a hidden spot first |
| Odors and stains | Find the source, blot stains, treat pet hair | Avoid cover-up products |
| Wipe down | Wipe surfaces, then clean windows last | Final walk-around before handover |
How to Prepare a Car for Trade-In: Exterior Steps
Once the inside is clean, move to the outside. The exterior is the first thing most people see when they walk up to the car.
Wash the Exterior and Wheels
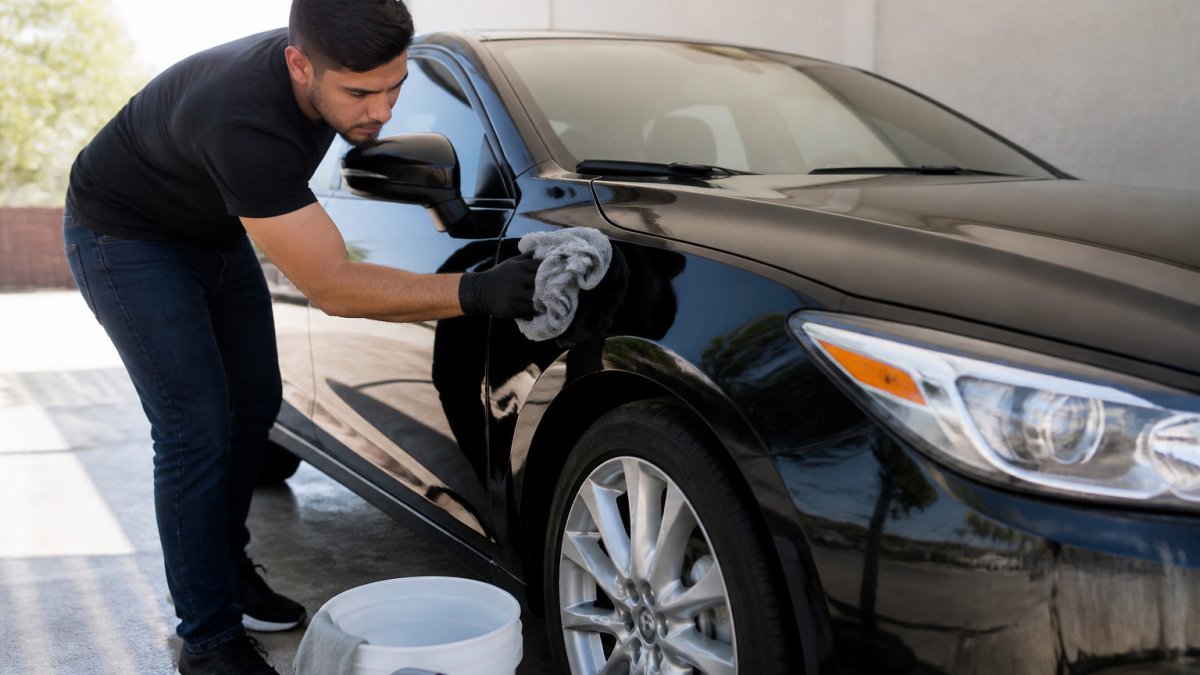
Wash the car with a car-specific soap and two buckets if you can. This reduces the chance of scratches from dirt in the wash water. Rinse thoroughly and dry with a clean microfiber towel.
Clean the wheels and tires separately. Use a wheel cleaner on brake dust and dry the tires so they look fresh. Wipe down the door jambs and the area under the hood as well.
Wax and Address Stains or Odor
A quick coat of wax can make the paint look brighter and help water bead off the surface. It takes a bit of time, but the result is noticeable under showroom lights.
Treat visible stains as well. Bird droppings, tar spots and tree sap can etch paint if left alone, so remove them gently with the right product. For odors, air out the cabin and use an odor absorber. Fix the source when you can, such as a wet carpet or a spilled drink.
How to Detail Your Car Before Trade-In on a Budget
Full detailing can be expensive, but a budget approach can still produce a clean result. Focus on the areas that stand out most.
- Wash and dry the exterior
- Clean the wheels and door jambs
- Vacuum and wipe down the interior
- Clean the windows inside and out
- Apply a basic wax coat if time allows
Set a time limit. Most owners can do a solid budget clean in an afternoon with household supplies and a few automotive products.
Professional Car Detailing Cost vs. DIY Effort
Professional detailing takes the work off your hands. You can also check how dealership trade-in pricing is judged to see whether an offer is fair before you invest in cleaning.
Doing it yourself costs less in cash but takes your time. Before deciding how much to spend, you can see what a transparent used car price looks like. A thorough DIY clean can take several hours. Weigh the effort against what you expect to gain.
A Simple Decision Rule
Use this rule of thumb to decide how much cleaning is worthwhile:
- If the car is in decent shape and mostly needs a wash, vacuum, and wipe-down: DIY is often a practical choice. You can finish in an afternoon with a few basic products.
- If the interior has heavy stains, strong odors, or pet hair that is hard to remove: professional detailing may be worth considering for those problems.
- If the car has major mechanical or body issues: a deep detail may not be worth the spend, since cleaning does not repair the underlying condition.
What to Ask a Detailer
If you get quotes, ask what is included in each package and what level of service makes sense for your car.
Budget DIY Supply List
You do not need a full detailing kit to make a good impression. A basic set covers most of the work:
- Car-specific wash soap and a microfiber drying towel
- Wheel cleaner and a tire brush
- Vacuum with a crevice tool
- Interior all-purpose cleaner and microfiber cloths
- Automotive glass cleaner
- Fabric cleaner for cloth seats and a pH-neutral leather cleaner if your car has leather
Set a time limit. Most owners can do a solid budget clean in an afternoon with household supplies and a few automotive products.
What Not to Clean, Repair, or Conceal
Do not hide problems. Be honest about dents, scratches, warning lights and mechanical issues.
Avoid spending money on major repairs right before a trade-in unless the fix is simple and cheap. Focus your effort on cleaning and presentation instead.
Do not use cover-up products to mask smoke or mildew. Appraisers can detect them, and they may signal that bigger problems exist.
Book Your Trade-In Appraisal at Carvibe Houston
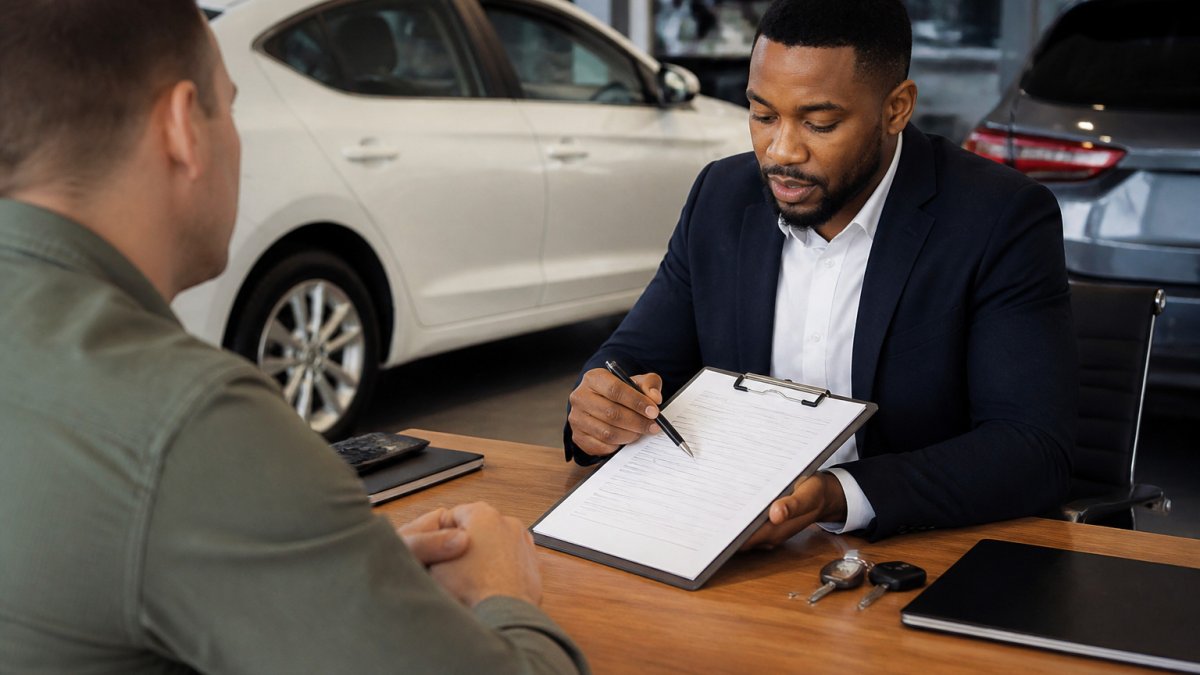
Once your car is clean and ready, the next step is getting an honest offer. book a trade-in appraisal at Carvibe Houston to see what your vehicle is worth. Our team can walk you through the process.
Need help choosing your next car too? browse our pre-owned inventory for SUVs, trucks and sedans. You can also read our step-by-step guide to trading in your car to see what happens after the appraisal.
Frequently Asked Questions
Does it matter if you clean your car before trading it in?
Yes. A clean, odor-free car makes a good first impression, and a neglected interior can make buyers wonder what else is wrong. Cleaning does not change the mechanical condition of the vehicle, so it will not replace needed repairs, but it helps the appraiser see the car at its best. Start with a thorough interior vacuum, wipe down surfaces, and wash the exterior. Pair this with removing personal items so the appraiser can focus on the vehicle itself rather than clutter. Contact Carvibe Houston for guidance on how your car's condition may affect its trade-in offer.
How long does it take to clean a car before a trade-in?
A thorough DIY clean can take several hours, depending on the car's condition. Heavily soiled interiors, pet hair, or lingering odor can add time. Work in a logical order: clear out belongings, vacuum, clean surfaces, then wash and dry the exterior. Doing this a day or two before your appraisal keeps the car fresh. For current appraisal timing and what to expect, contact Carvibe Houston directly.
Should I get my car professionally detailed before a trade-in?
It depends on the car's condition and how much effort you want to invest. A professional detail can deliver a deeper clean than most owners achieve at home, especially for carpets, upholstery, and paint. If the interior is already tidy and the exterior is clean, a DIY effort may be enough. Pricing for detailing depends on vehicle size, condition, and services chosen, so request a current quote from the provider before deciding. Contact Carvibe Houston with questions about how your car's condition may affect its offer.
What should I remove from my car before trading it in?
Remove all personal belongings, including documents, registration copies you no longer need, toll tags, garage door openers, phone mounts, and any trash. Clear the glove compartment, center console, door pockets, and trunk. Take out child seats and car seat bases if you plan to keep them, and remove custom accessories you intend to take with you. Check the sun visors and seat pockets, where items are commonly overlooked. Leaving the car empty helps keep the focus on the vehicle's condition.